Welcome to the Bacula Online Hosted Trial, where we bring the power and efficiency of advanced backup solutions right to your fingertips! Our Trial environment is designed to showcase the robust capabilities of Bacula, highlighting its superior performance in various simple scenarios. This dynamic and interactive Trial shows how Bacula simplifies the backup and deduplication processes. Whether you’re a seasoned IT professional or new to backup solutions, this scenario is designed to provide insights into the Bacula ecosystem and showcase the practical benefits to you of Bacula’s advanced features. Let’s dive into the first of our exciting use cases:
Objective
In this scenario, we demonstrate the efficiency of Bacula’s deduplication engine by performing backups of the “cats and dogs” datasets across different external servers. We will guide you through understanding what a source is and how deduplication can save storage space and optimize backup processes.
Highlights of this Scenario
Pre-installed Client on Linux Clients:
Our Trial is delivered to you with Client pre-installed on Ubuntu, RHEL, Debian and Windows clients. This setup is pre-configured to save you time, eliminating the need for you to add clients yourself in BWeb.
Source Creation and Backup Execution:
Follow along as we create deduplicated backups on both RHEL and Debian platforms. We’ll run two separate backups—one for each OS—showcasing how the first backup behaves and then highlighting the impressive near 100% deduplication ratio achieved during the second backup of the same datasets on the other OS.
Detailed Client Overview:
Gain insights into the configuration and role of each client in this Trial. Both the RHEL and Debian clients are equipped with the “cats and dogs” datasets, which you can browse directly from our welcome page. This hands-on exploration allows you to see exactly what data is being backed up and deduplicated, you can even delete the data so that Bacula can come to the rescue and restore it.
Controlled Environment:
For this Trial, we’ve created you a controlled Trial environment where you can get a feel for the capabilities of Bacula without the complexity of needing to deploy into your own environment. This focus ensures a seamless demonstration of deduplication and backup efficiency, providing you with a clear understanding of Bacula’s potential in your own environment.
Ready to get started?
Step-by-Step Instructions
(Instead of doing it yourself, you can instead simply watch this video of the following scenario).
1. Trial Home Page
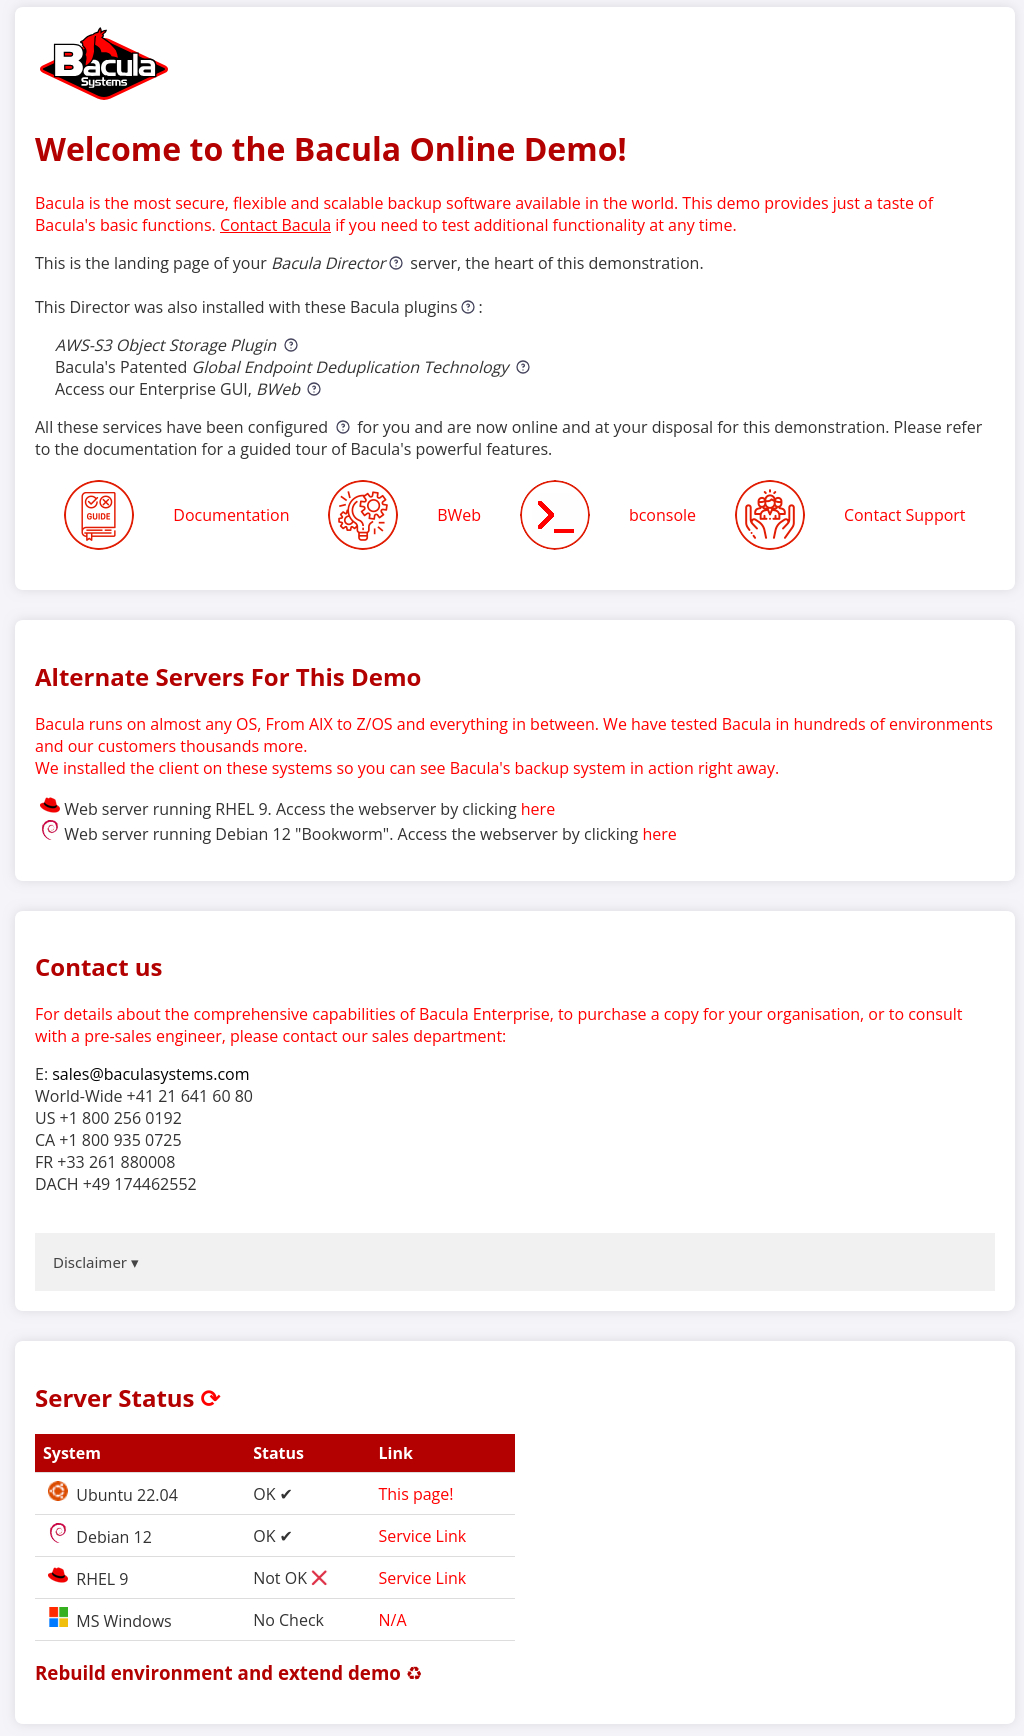
The Trial home page shows you the status of your Trial environment
This is the landing page of your Bacula Online Trial. Here you can see an overview of the Trial environment, including the status of various services and the available servers. This page serves as the starting point for exploring the features and capabilities of Bacula.
2. Debian Client Web Index
The web index of the Debian client showing the “cats” and “dogs” datasets.
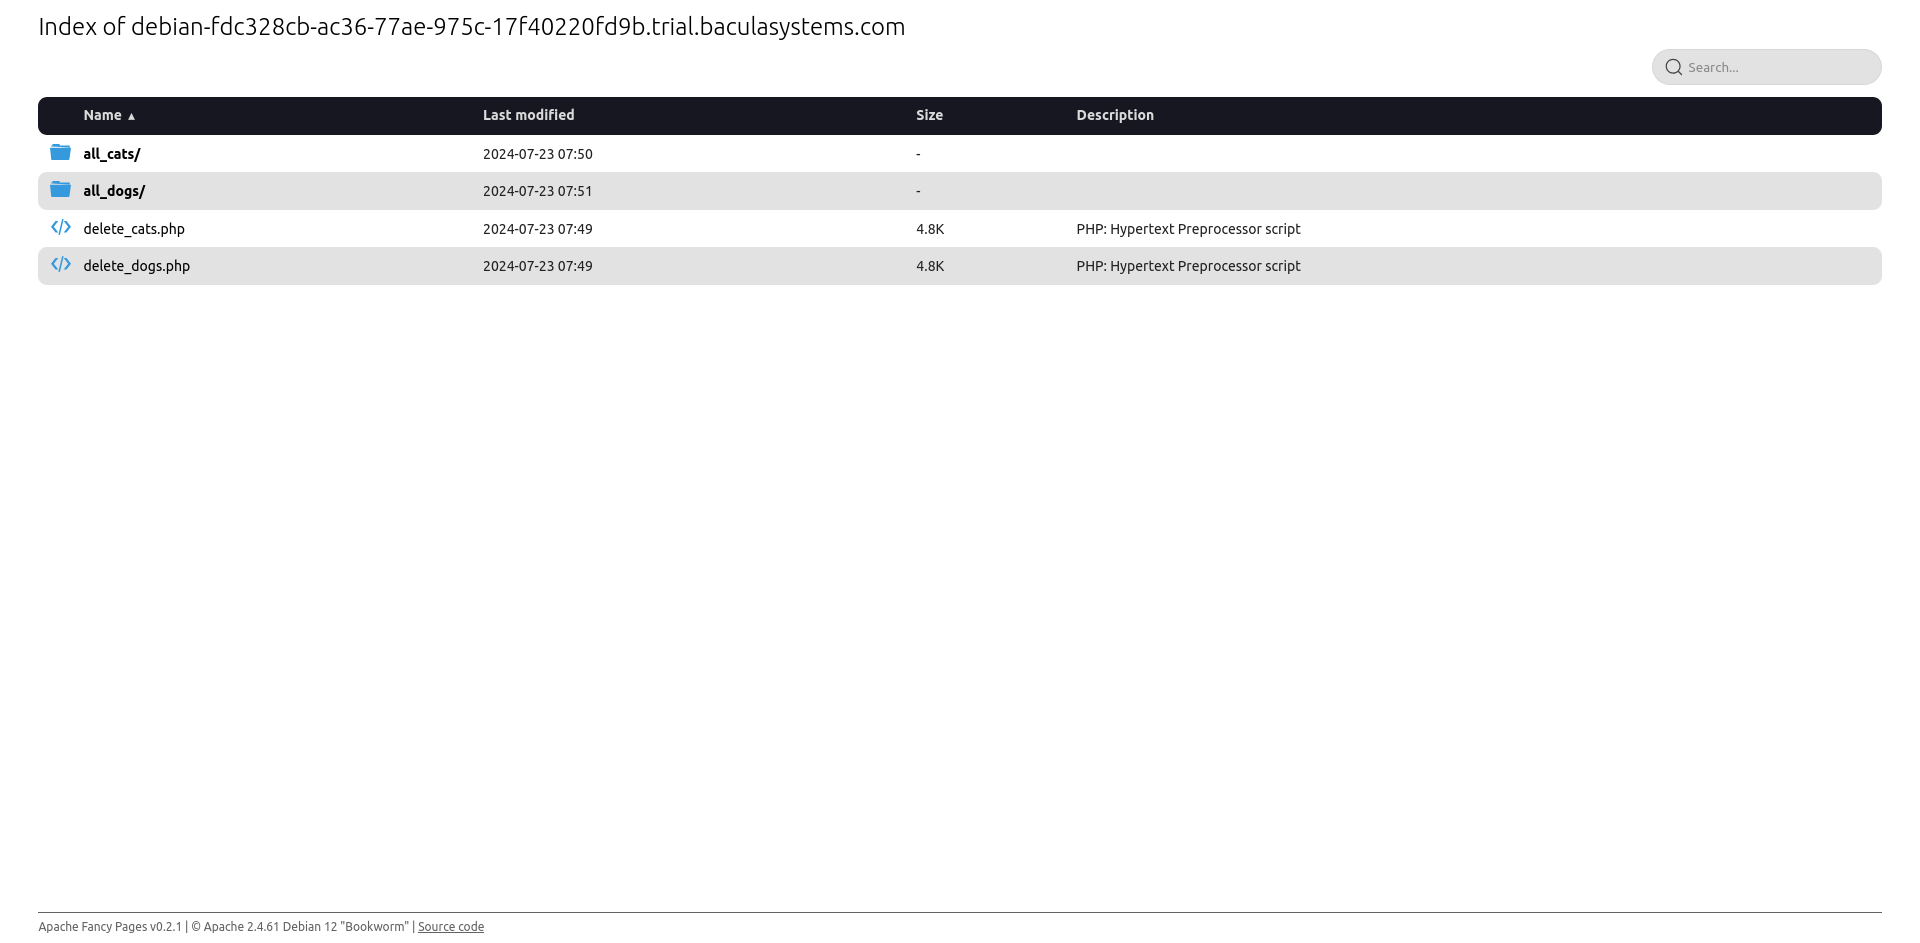
This page displays the contents of the Debian client’s web directory. You can see folders for “all_cats” and “all_dogs,” which are part of the datasets used in the Trial. These folders contain the data that will be backed up and deduplicated during your Trial.
3. RHEL Client Web Index
The web index of the Debian client showing the “cats” and “dogs” datasets.
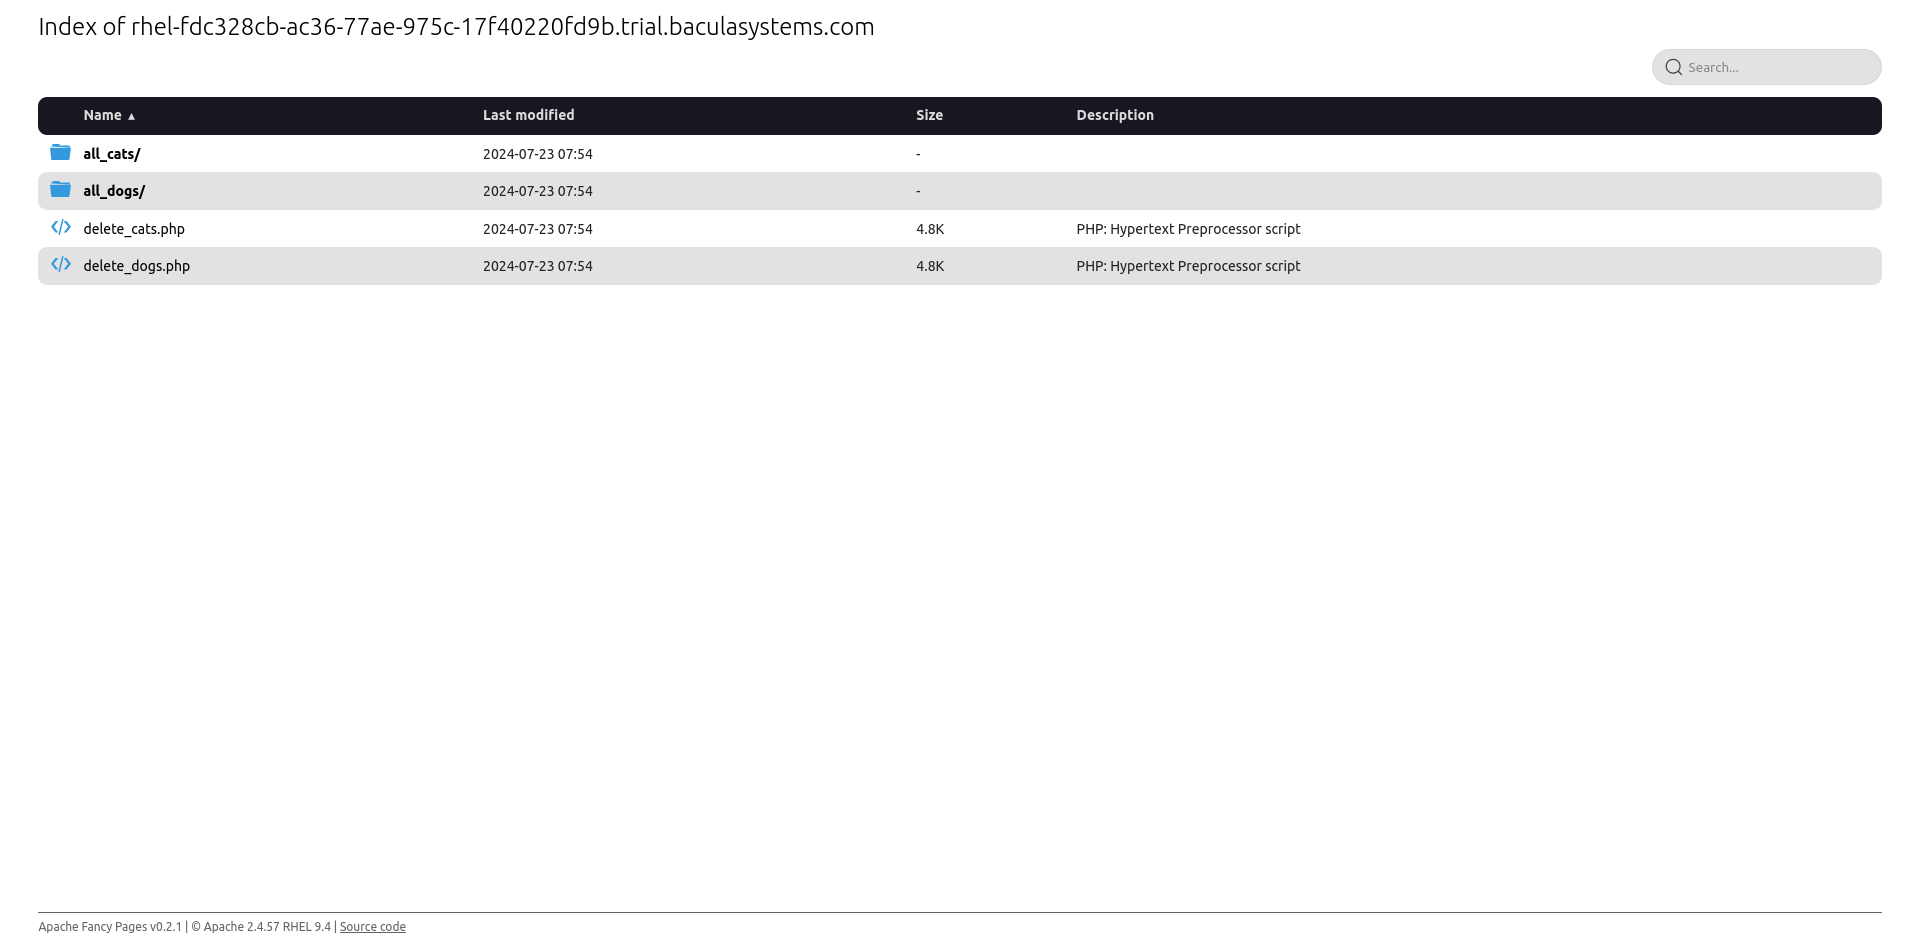
Similar to the Debian client, this page shows the contents of the RHEL client’s web directory. It includes folders for “all_cats” and “all_dogs,” as well as PHP scripts (delete_cats.php and delete_dogs.php) that can be used to delete these datasets. This setup allows you to test Bacula’s restoration capabilities after deletion.
4. Help Page – Contact Us Form
The help page allows you to contact us to provide feedback, ask questions or report issues.
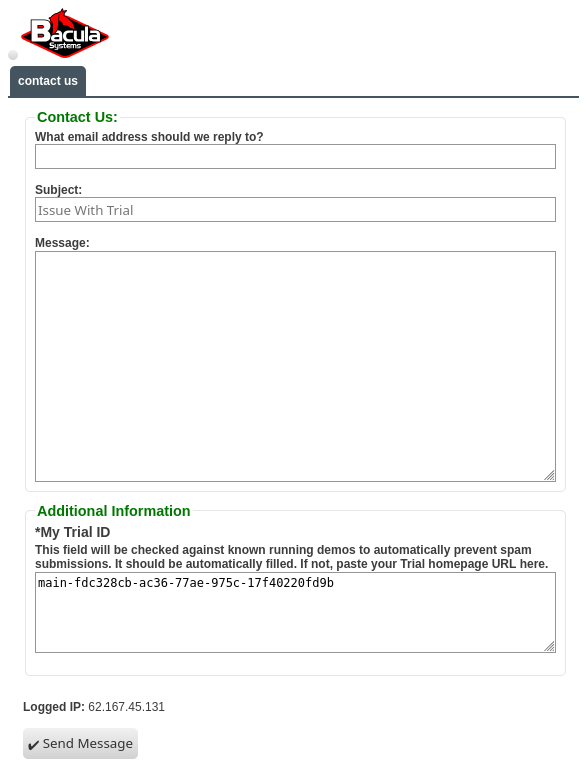
This form enables you to contact Bacula support for any issues encountered during the trial. Fill in your email address, subject, and message to get help or report problems. The trial ID is automatically filled to help the support team identify your Trial environment and reduce spam.
5. Shell Access to bconsole
This trial has access to Bacula’s powerful CLI bconsole. Please use `bacula` for the username and password. Note that Linux does not print the password
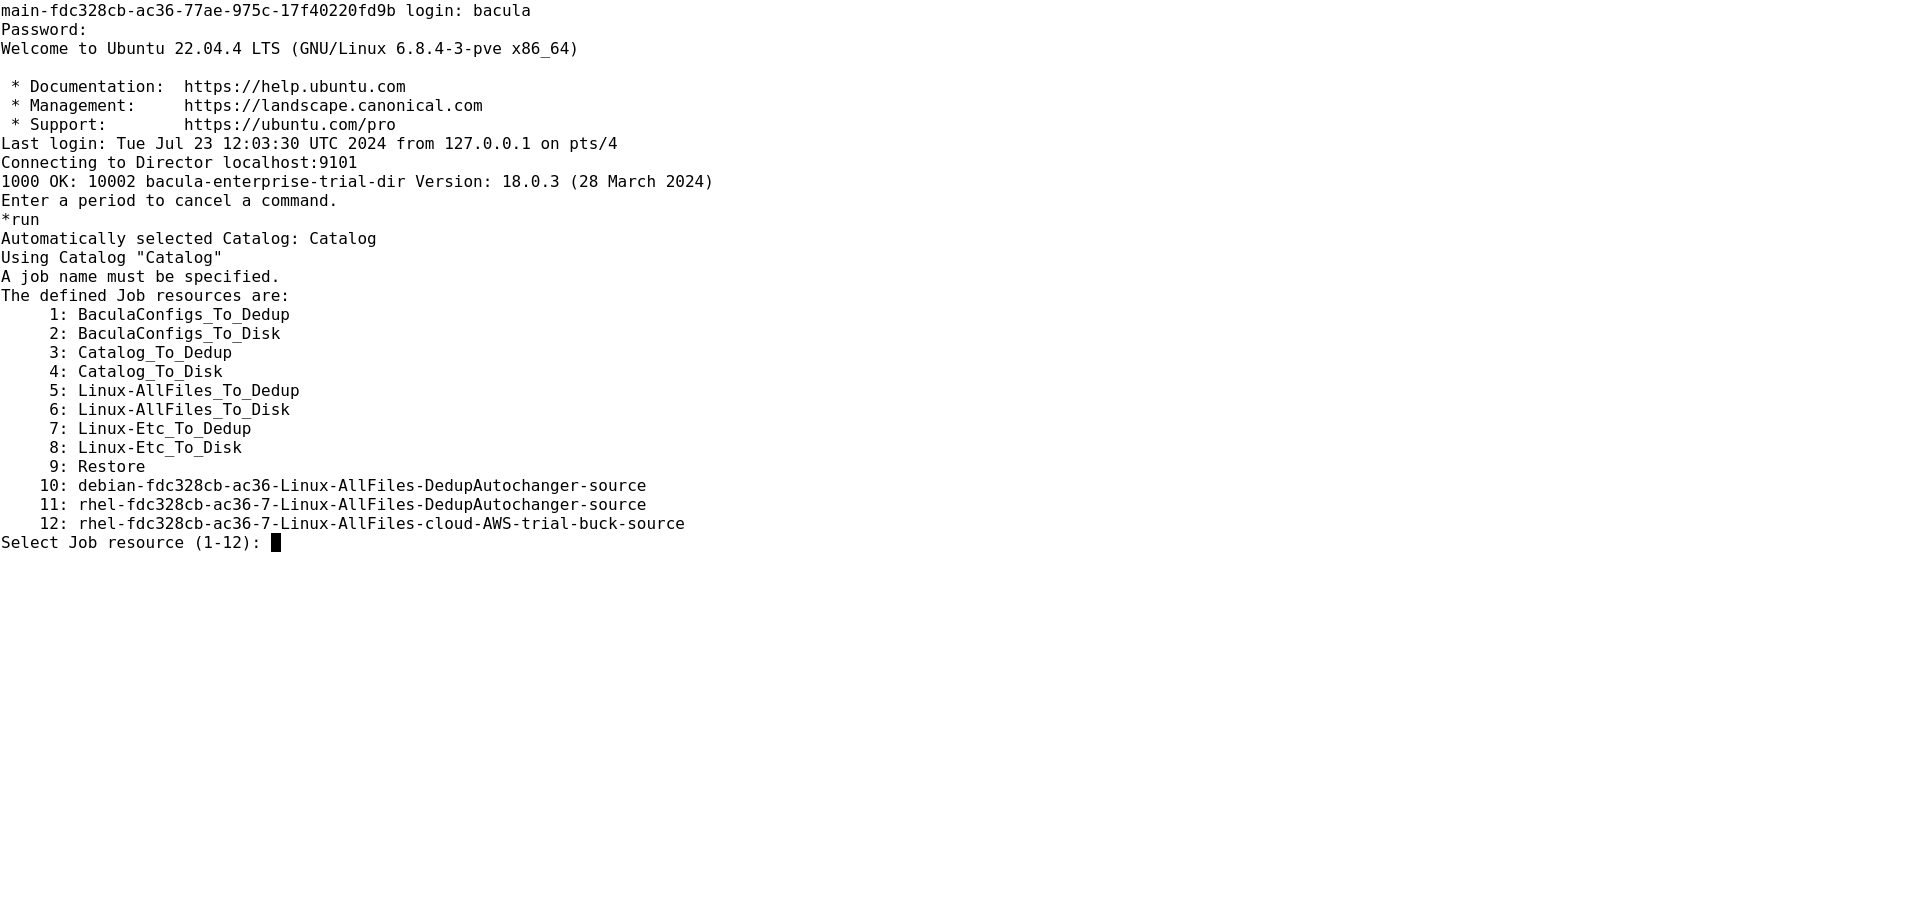
This step shows how to access the Bacula console (bconsole) via a shell. The user logs in with the username ‘bacula’ and the password ‘bacula’. It’s important to note that for security reasons, the password won’t be displayed as you type it.
6. First time setup for BWeb
This trial has access to Bacula’s powerful CLI bconsole. Please use `bacula` for the username and password. Note that Linux does not print the password
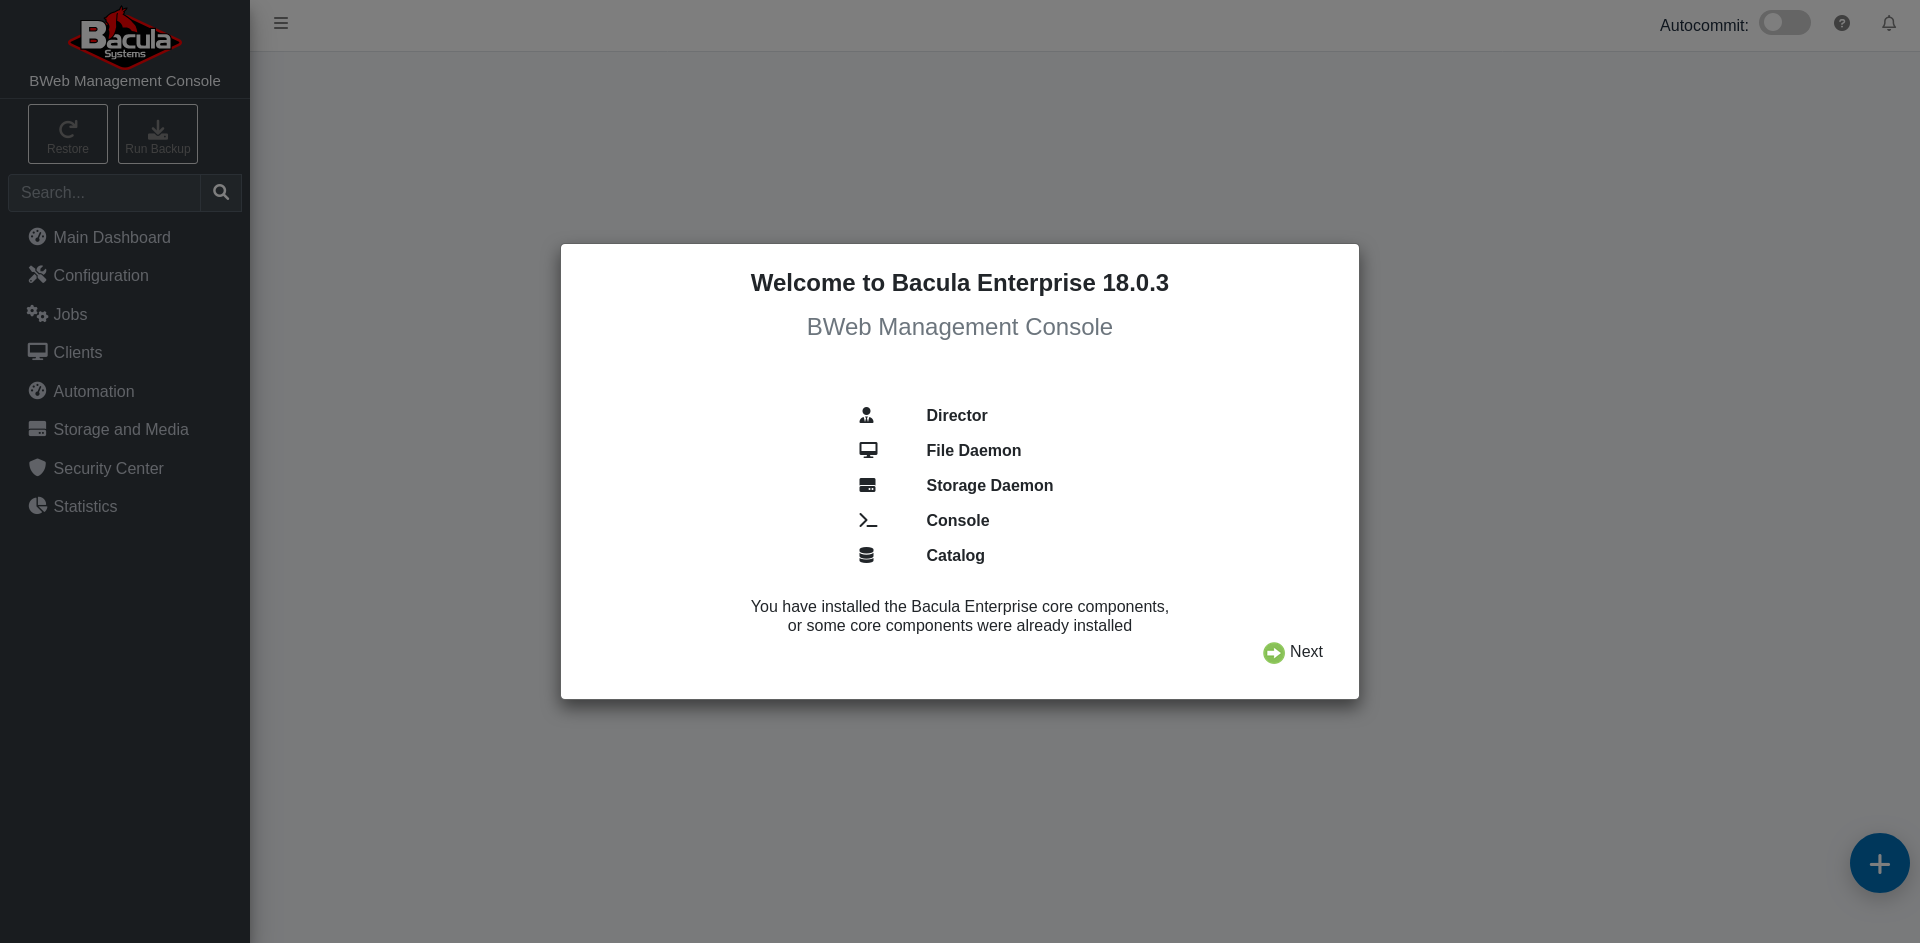
This image displays the first run wizard from BWeb. You can click through the settings as everything has been provisioned for you. Please note that external emailing is not enabled in this Trial environment.
7. BWeb Dashboard
The dashboard for BWeb shows the status of backup and restore jobs and providing access to Bacula’s powerful functions via its context menus.
.png)
After first time configuration, you are taken to the BWeb dashboard. This page provides an overview of all backup and restore jobs, including their success status, warnings, and any ongoing processes. It’s a central hub for monitoring the health and performance of your backup system.
8. Click the run backup button at the top of the left-hand menu
The dashboard for BWeb shows the status of backup and restore jobs and providing access to Bacula’s powerful functions via its context menus.
.png)
Click the ‘Backup’ button in BWeb to initiate the run backup wizard. Select the `Linux-AllFiles_To_Dedup` option.
9. Backup Wizard
The dashboard for BWeb showing the status of backup and restore jobs and providing access to Bacula’s powerful functions via its context menus.
.png)
This interface provides an overview of the options for the job including the key who what and when parameters every backup must have. Here, we must define the source of the backup, to do that click on the icon for ‘who’
Client (Who): The machine or system whose data will be backed up.
By the way, here is what the other options mean:
Fileset (What): A collection of files and directories that will be included in the backup.
Storage (Where): The Bacula Storage and Bacula Pools to use
When: The rules and schedules governing the backup process.
Level: The type of backup, such as full, incremental, or differential.
10. Select the ‘Linux-AllFiles’ fileset for backup
For the fileset, select “Linux-AllFiles”. This choice ensures that all files on the selected Linux client will be included in the backup.
11. Client Selection
Please select the Debian client. The dashboard for BWeb showing the status of backup and restore jobs and providing access to Bacula’s powerful functions via its context menus.
.png)
The list of available clients is displayed, including RHEL, Debian, and the base Ubuntu system. Select the Debian client by clicking on it.
12. Select the Dedup destination
Select “DedupAutchanger” for the destination to demonstrate deduplication. This step is crucial for showing how Bacula’s deduplication engine optimizes storage. Note that cloud storage will be used in a later step.
13. Completed settings
The dashboard for BWeb showing the status of backup and restore jobs and providing access to Bacula’s powerful functions via its context menus.
.png)
The settings should look as shown in this image. Here is a summary of the settings:
– Client (who): Debian
– Fileset (what): Linux-AllFiles
– Destination (where): DedupAutochanger
– When: Now.
– Level: Incremental
When you are satisfied, press the ‘Run Job’ button.
14. Job Running Details
The dashboard for BWeb showing the status of backup and restore jobs and providing access to Bacula’s powerful functions via its context menus.
.png)
You will see the job running. It will be updated as it progresses.
15. Repeat backup for RHEL client
The dashboard for BWeb showing the status of backup and restore jobs and providing access to Bacula’s powerful functions via its context menus.
.png)
Now, we will repeat the process for the RedHat client.
16. Select Fileset for RedHat Client
The dashboard for BWeb showing the status of backup and restore jobs and providing access to Bacula’s powerful functions via its context menus.
.png)
Choose the “Linux-AllFiles” fileset for the RedHat client.
17. Select RedHat Client
Choose the “Linux-AllFiles” fileset for the RedHat client.
18. Confirm Settings and run job
Select “DedupAutochanger” for the destination to demonstrate deduplication of the similar cats and dogs dataset on RHEL.
– Client (who): RHEL
– Fileset (what): Linux-AllFiles
– Destination (where): DedupAutochanger
– When: Now.
– Level: Incremental
19. Job Completed
In the status page, you will see the completed job after a few moments.
20. Navigate to Storage and Media Menu
.png)
Navigate to the Storage and Media menu. Click Deduplication and you will be presented with an overview of the Dedup engine performance. Notice the deduplication has already saved critical space from just two jobs being run.
This brings you to the end of Scenario 1! Next is Scenario 2, which demonstrates Bacula’s data restoration.

