Building on the foundations laid in Scenario 1, where we successfully performed backup operations, we now look into Bacula’s dynamic world of data restoration. Bacula Enterprise is renowned for its robust data management capabilities, and this scenario is designed to showcase the simplicity and effectiveness of restoring data using Bacula’s intuitive GUI. By the way, be sure to complete Scenario 1 first, to ensure you can follow along.
In this scenario, you will experience firsthand how Bacula can seamlessly restore critical data to its original state, ensuring business continuity and data integrity with minimal effort. Specifically, we will focus on restoring the “Cats and Dogs” dataset, demonstrating how easily you can revert to a previous state and recover from data loss scenarios.
Scenario 2: Delete and Restore “Cats and Dogs” Using GUI to One Server
This scenario vividly illustrates Bacula Enterprise’s unparalleled ability to manage data restoration effortlessly. The seamless reappearance of the “Cats and Dogs” files in the web root simply demonstrates Bacula’s efficiency and reliability. Whether dealing with accidental deletions or catastrophic data loss, Bacula ensures your critical data is always recoverable, keeping your operations running smoothly.
Experience the peace of mind that comes with knowing your data is secure, accessible, and easily restorable with Bacula Enterprise. Unlock the future by protecting your history with Bacula and dive into this scenario now.
Objective:
In this engaging scenario, we will restore the “Cats and Dogs” files to the same server used for their backup. You will witness the files reappearing in the browsable web root, demonstrating Bacula’s powerful data recovery capabilities.
Highlights of this Scenario
1. Delete files from your web servers to simulate data loss:
Begin by logging into the Bacula Enterprise GUI. The intuitive interface will guide you through the restoration process with ease.
2. Locate the Backup Job:
Find the backup job associated with the “Cats and Dogs” dataset. This dataset, used in Scenario 1, contains essential files that we will restore to ensure their availability.
3. Initiate the Restore Process in the GUI:
Select the restore option for the backup job. The GUI will prompt you to choose the destination for the restored files. In this scenario, we will restore the files to the same client and location from which they were originally backed up.
4. Verify Restoration:
Once the restoration is complete, navigate to the web root to confirm that the “Cats and Dogs” files have been successfully restored. You should see the files reappearing, ready for use as if they were never deleted.
Step-by-Step Instructions
Let’s break down the first 8 steps of Scenario 2, using the images provided.
1. Navigate to the Debian Web Service
.png)
On the Bacula Online Demo homepage, locate the web server running Debian 12. Click on the service link to access the Debian web service.
2. View the Web Root Directory
.png)
After accessing the Debian web service, you will see the web root directory. Note the presence of the `all_cats/` and `all_dogs/` directories. These are the datasets you will be working with.
3. Select the Delete Cats Script
In the web root directory, click on the `delete_cats.php` script. This script will allow you to delete the `all_cats` directory.
4. Execute the Delete Cats Script
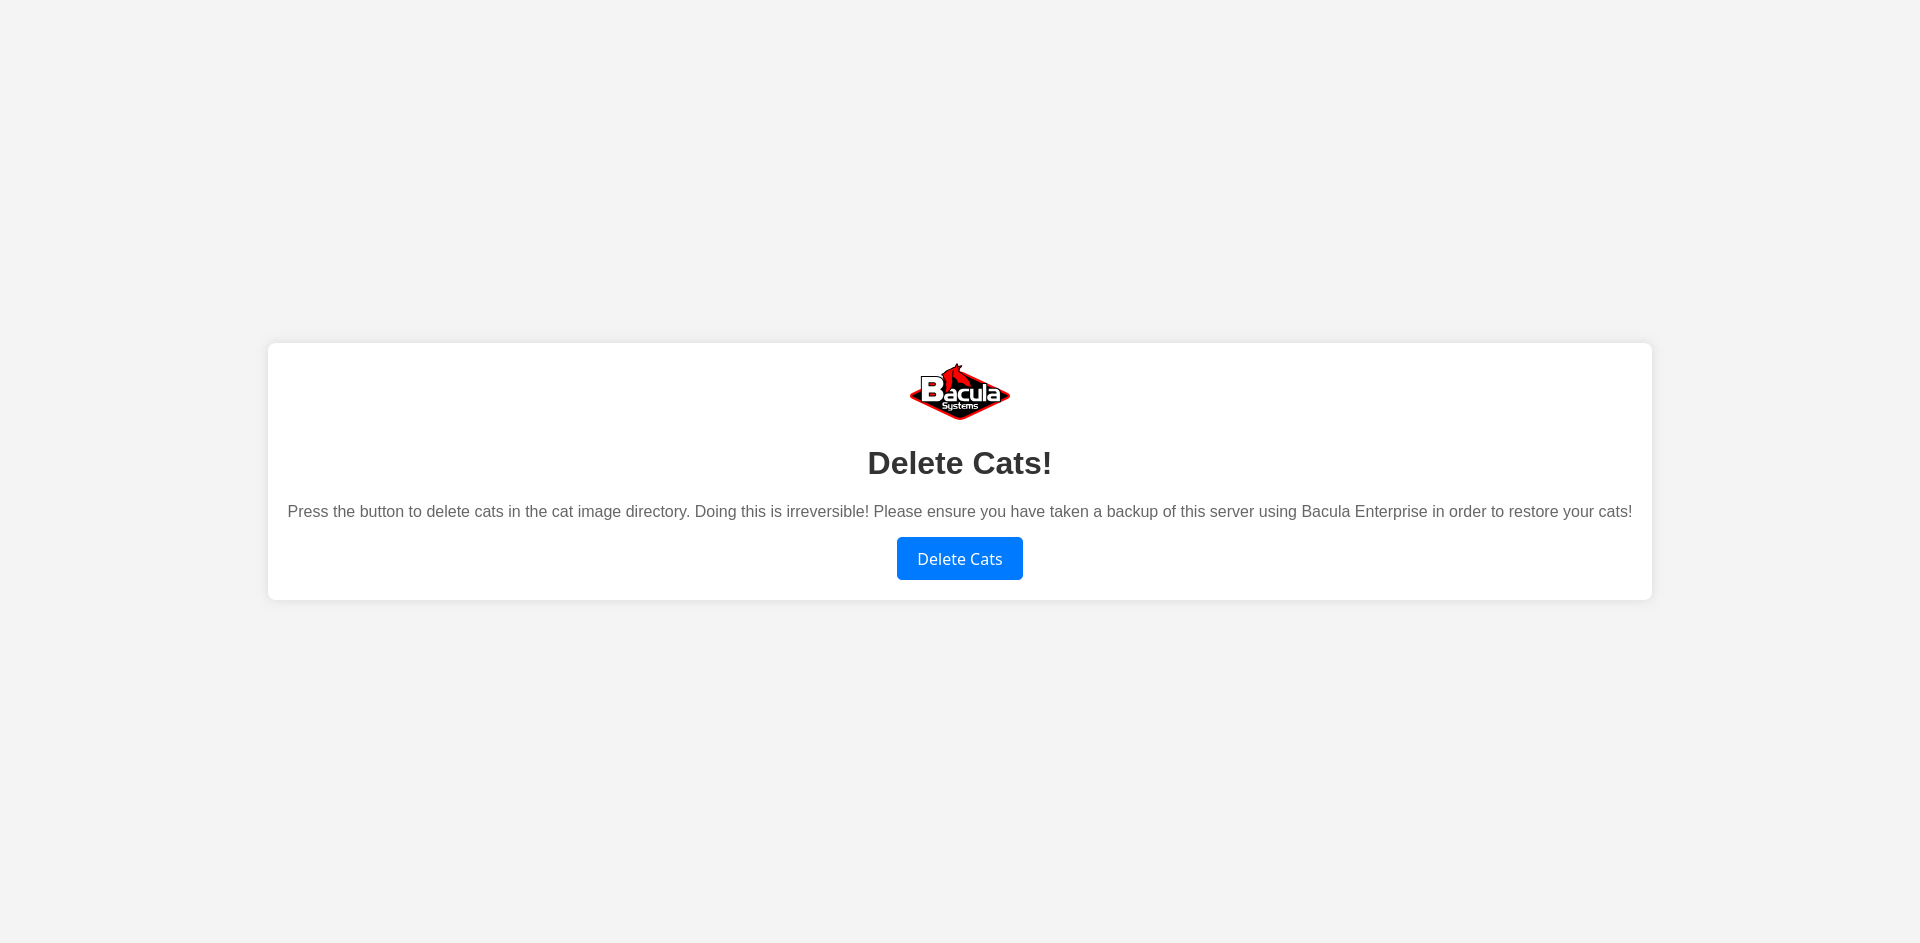
On the delete cats page, click the “Delete Cats” button to initiate the deletion of the cat files. Ensure you have completed Scenario 1 and backed up the data before proceeding.
5. Confirm Cat Deletion
.png)
A confirmation window will appear. It will prompt you to verify that you have backed up the server in Bcenter. Click the provided link to verify in Bcenter if needed. Once confirmed, click “Yes, Delete” to proceed with the deletion.
6. Verify Cat Deletion
.png)
After confirming the deletion, you will be returned to the web root directory. Verify that the `all_cats/` directory is no longer visible, indicating the dataset has been deleted.
7. Select the Delete Dogs Script

In the web root directory, click on the `delete_dogs.php` script to proceed with deleting the `all_dogs` directory.
8. Execute the Delete Dogs Script
.png)
On the delete dogs page, click the “Delete Dogs” button to initiate the deletion of the dog files. As with the cats, ensure the data has been backed up before proceeding.
9. Verify web root is empty of datasets
.png)
The web root will now be empty, apart from the deletion scripts.
We will now repeat the deletion on the Red Hat server
10. Navigate to the RHEL Web Service
On the Bacula Online Demo homepage, locate the web server running Debian 12. Click on the service link to access the Debian web service.
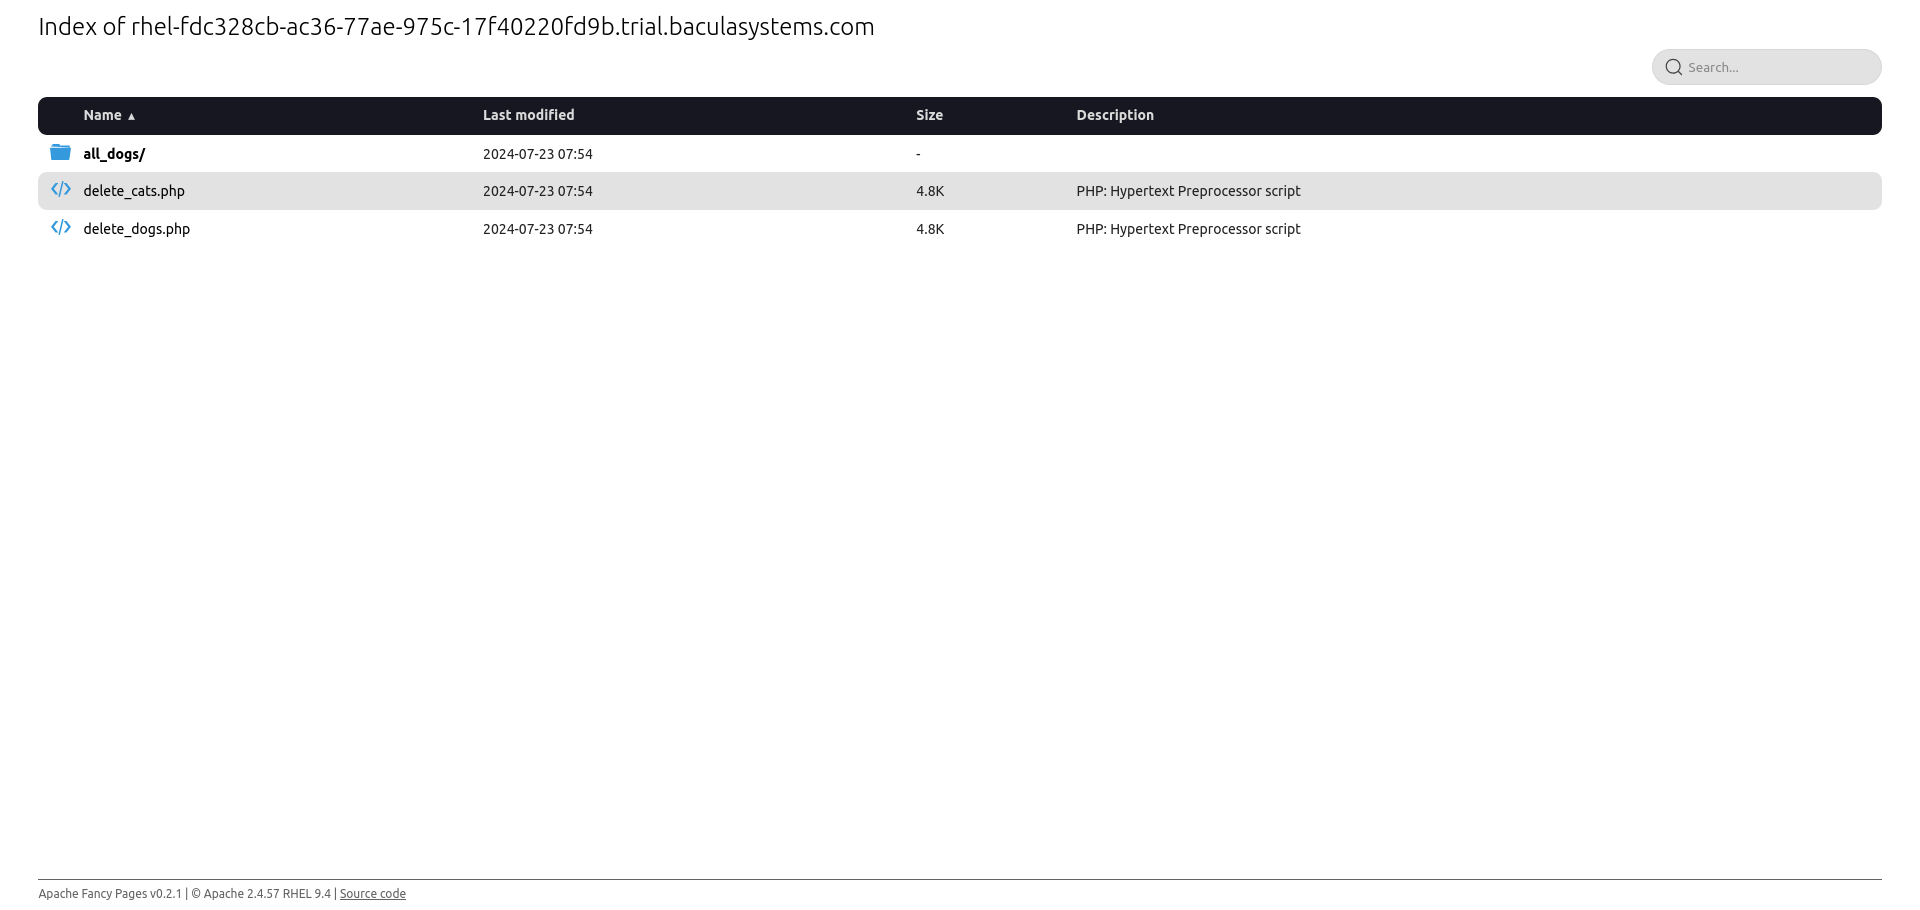
11. View the Web Root Directory
.png)
After accessing the Debian web service, you will see the web root directory. Note the presence of the `all_cats/` and `all_dogs/` directories. These are the datasets you will be working with.
12. Select the Delete Cats Script
In the web root directory, click on the `delete_cats.php` script. This script will allow you to delete the `all_cats` directory.
13. Execute the Delete Cats Script
On the delete cats page, click the “Delete Cats” button to initiate the deletion of the cat files. Ensure you have completed Scenario 1 and backed up the data before proceeding.
14. Verify Cat Deletion
After confirming the deletion, you will be returned to the web root directory. Verify that the `all_cats/` directory is no longer visible, indicating the dataset has been deleted.
15. Select the Delete Dogs Script
In the web root directory, click on the `delete_dogs.php` script to proceed with deleting the `all_dogs` directory.
16. Execute the Delete Dogs Script
On the delete dogs page, click the “Delete Dogs” button to initiate the deletion of the dog files. As with the cats, ensure the data has been backed up before proceeding.
17. Verify Dog Deletion
.png)
After confirming the deletion, you will be returned to the web root directory. Verify that the `all_dogs/` directory is no longer visible, indicating the dataset has been deleted.
Now to actually do the restore to Debian in the GUI:
18. Entering the Restore Menu in BWeb
.png)
Click the “Restore” button in BWeb to begin the restoration process.
19. Select The Debian Client and Click the next window in the wizard
20. Select Backup Job to Restore
.png)
Select the job, using the “Linux-AllFiles” fileset and the Dedup data to ensure the correct data is restored.
21. File Selection Wizard – Adding `/var“ Directory
.png)
Use the file selection wizard to locate the `/var/www/html` directory and drag and drop the cat and dog dataset files into the ‘Restore Selection Area’ . When satisfied, click the ‘Accept Files Selection’ button.
22. Verify Restore Location Settings
.png)
Verify the restore settings, making sure to select the “Original location” (`/`) option for the restore location (where), instead of the default. This step is crucial to ensure files are restored to their original directory. When satisfied, click ‘Run Restore’.
23. Monitor Running Restore Job
.png)
After confirming, you will see the running restore job. Which will complete in a few moments.
24. Enter the Debian Server Web Root and Verify Restored Files
.png)
Navigate to the Debian server web root to verify that the files have been successfully restored. You should see the `all_cats` and `all_dogs` directories, confirming that the restore process using the GUI was successful.
Congratulations on completing the restore using Bacula’s powerful and user-friendly GUI!